

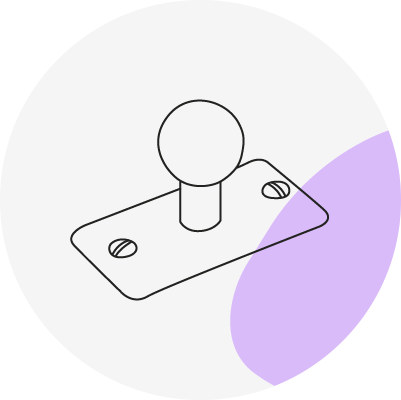
 Retro
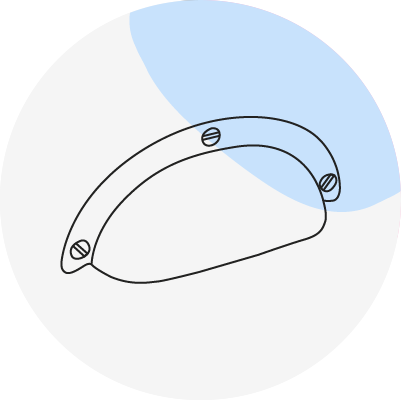 Country
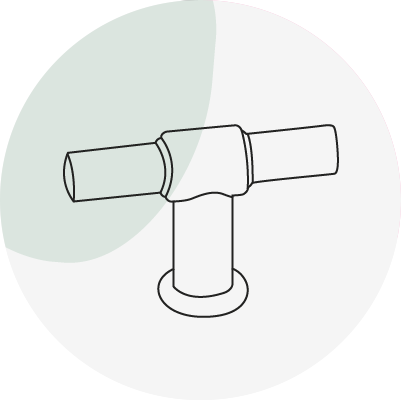 Modern


Surface-mounted or recessed LED profile?
A surface-mounted profile is mounted on the surface, so you don't need to rout a groove. It is secured with tape, screws or clips, depending on the model. Twig XA is a surface-mounted profile that comes with mounting clips and double-sided tape, while Blade is mounted against the wall with concealed mounting clips.
A recessed profile is mounted in a routed groove so that it sits flush with the material. Apex is a recessed profile that you can place vertically or horizontally, for example in kitchen cabinets and drawers, display cabinets and wardrobes. The profile stays in the groove with light pressure or clips, without screws or glue.
LD8104 is a minimalist profile that is just 6 mm wide.
Recessing an LED strip: through groove or stopped groove
A through groove runs from one edge of the material to the other without stopping. You don't need end caps because the groove has no rounded ends.
A stopped groove doesn't run all the way through but starts and ends where you want it to, for example 30 mm from the bottom of the wardrobe and 30 mm from the top. Finish the profile with end caps that conceal the rounded ends left by the router. Ändavslut Apex 2-p + 2-p includes end caps for both through grooves and stopped grooves.
Use a router or a similar machine to make a precise groove. Check the profile dimensions in the product description before routing. If you're unsure, a carpenter can help. The groove determines how well the profile fits and how neat the result looks. For surface mounting, you don't need to rout a groove.
Plan the placement and length
First, decide where you want the light and what you want to use it for: more lighting in the kitchen, wardrobe or display cabinet. The profiles are 2000 mm long. Saw them to the desired length for an exact fit.
Straight or angled profile?
If you want the light to shine into a kitchen cabinet or drawer, onto clothes in a wardrobe or toward a wall, an angled profile is a good choice. Blade is 10 mm thick and surface-mounted against the wall. You can choose whether the light shines toward or away from the wall. It works under kitchen cabinet doors to illuminate the countertop and on shelves. Blade is available in aluminum and matte black.
If you want light directed straight out, you have several options: Apex, Miss, 8112 and LD8104. Miss is a decorative profile placed horizontally, for example in bookcases, under countertops and under drawers. 8112 has a beam angle that provides glare-free light. Diffusers and end caps are available for 8112 and LD8104.
For more flexible lighting, there's LED-strip Flexy AT6 PRO. It has no visible diodes, can be shaped straight or curved and can be bent to a minimum radius of 25 mm.
What you need for a complete lighting setup
Your lighting setup consists of several parts. Here's what a complete installation includes:
- LED profile, 2000 mm long, such as Apex or Blade.
- Diffuser to spread the light evenly. Diffusers are available for 8112, LD8104 and Twig XA, among others.
- End caps for a neat finish, such as Apex, 8112, Twig XA and Blade.
- LED strip, such as Flexy AT6 PRO.
- Driver that matches the strip, such as Drivdon Triac 24V / 50 W, dimbart. Choose a driver with a higher wattage than the strip's total wattage.
- Mounting parts: clips and tape are included with Twig XA, and Blade comes with concealed mounting clips.
- Tools: tape measure, hacksaw, scissors, screwdriver and, for recessed mounting, a router.
How to install an LED strip
- Measure. Decide how long the lighting should be using a tape measure or folding ruler. Mark the same measurement on the profile, diffuser and strip, in a place that won't be visible once the lighting is installed.
- Cut. Cut the profile and diffuser at the marks, using a hacksaw for example. You can cut the LED strip with scissors, but only at the marked cutting points. If you cut in the wrong place, the disconnected diodes will go out.
- Assemble the parts. How you do this depends on the profile you've chosen. Below, we show you how to install two different profiles.
Installing Apex: recessed in a routed groove
Apex is a recessed LED profile that, together with an LED strip, provides even light without visible diodes.
- Place the pre-cut LED strip in the Apex profile. The profile has a channel for the strip.
- Choose end caps. Different end caps are used for through grooves and stopped grooves. Ändavslut Apex 2-p + 2-p includes both types.
- Connect the driver to the LED strip and check that everything works before installation.

- If the strip lights up, place the profile with the strip in the routed groove. Consider where the cable will exit. In a wardrobe, you can hide the cable by running it through a pre-drilled hole in the top of the wardrobe.

- Measure the cable length and decide where to place the driver. Extension cables are available if the cable is too short.
- Disconnect the power, position the driver and connect the profile to the driver. If you want to connect the lighting to a wall switch, contact an electrician.

Installing Blade: surface-mounted against the wall
Blade is 10 mm thick and surface-mounted against the wall with concealed mounting clips. It works well under kitchen cabinet doors to illuminate the countertop, and on shelves.
- Screw the concealed mounting clips into place. Pre-drilling is recommended. Use a screwdriver rather than a drill, as it's difficult to reach with a drill and a screwdriver is gentler on the products.

- Place the prepared LED strip in the profile. First, measure where the strip will sit before removing the tape backing, so you know where the diodes will be positioned. Then remove the backing, stick the strip in place and press lightly with your fingers to make sure it adheres securely.

- Insert the diffuser into the profile's second channel.

- Install the end caps by clicking them onto the ends of the profile. Once the profile is assembled, connect the driver to the LED strip to check that everything is connected correctly. It's easier to do this before the profile is mounted.
- Decide where the cable will run. If you need to drill a hole, do this before mounting the profile on the wall.
- If the strip lights up when connected, you can attach the profile to the mounting clips. Disconnect the power, then gently click the profile into the clips.
- Measure the cable length and decide where to place the driver. Extension cables are available if the cable is too short. Disconnect the power, position the driver and connect the profile to the driver.
- If you want to connect the lighting to a wall switch, contact an electrician.

Find your new lighting
Here you'll find our LED strips and profiles, drivers and transformers and other lighting for kitchens, wardrobes and display cabinets.


