

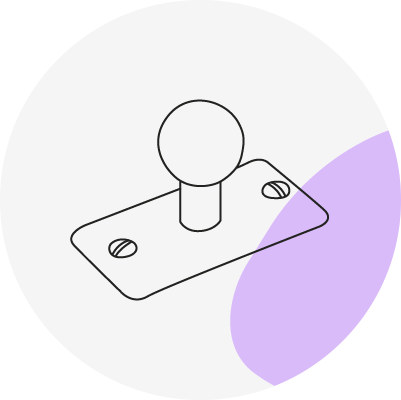
 Retro
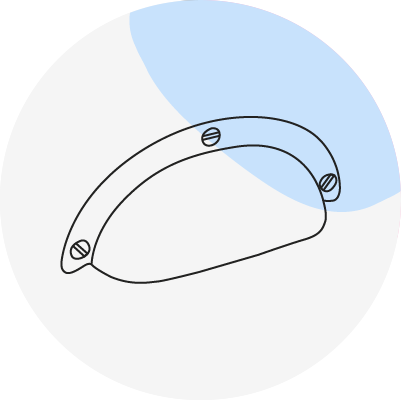 Country
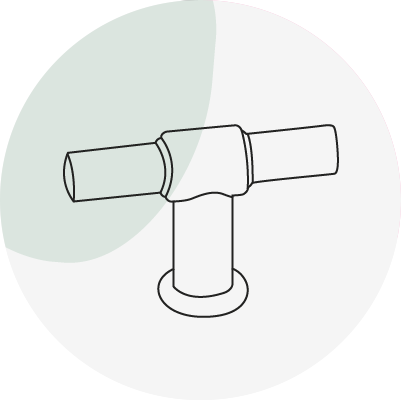 Modern

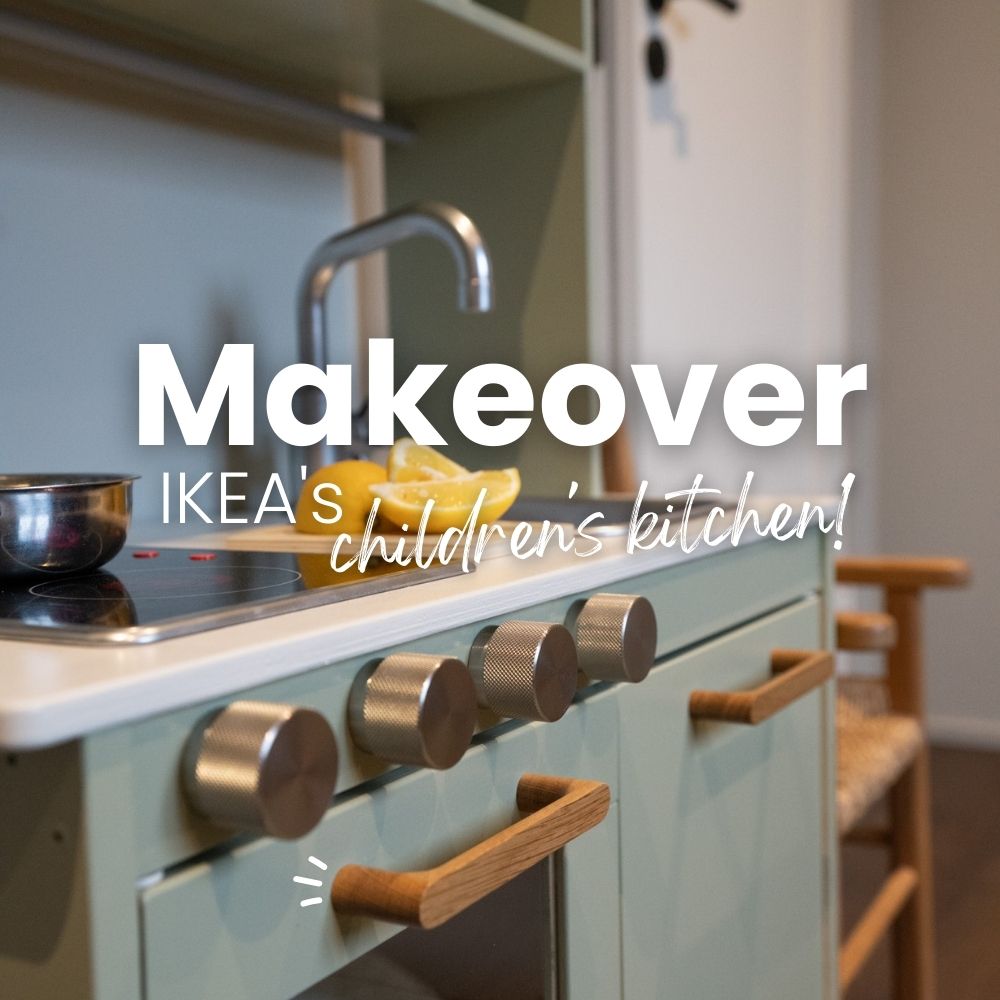
Together with Happy Homes, we want to encourage home projects, DIY and reuse! Repaint your children's furniture set or bedside table, or why not brighten up their play kitchen with paint, handles and knobs?
Want to make over an IKEA play kitchen? Here we show you step by step how we gave the IKEA DUKTIG play kitchen a whole new look with paint, chrome spray paint and new handles and knobs.
Before and after: IKEA DUKTIG play kitchen with a fresh coat of paint
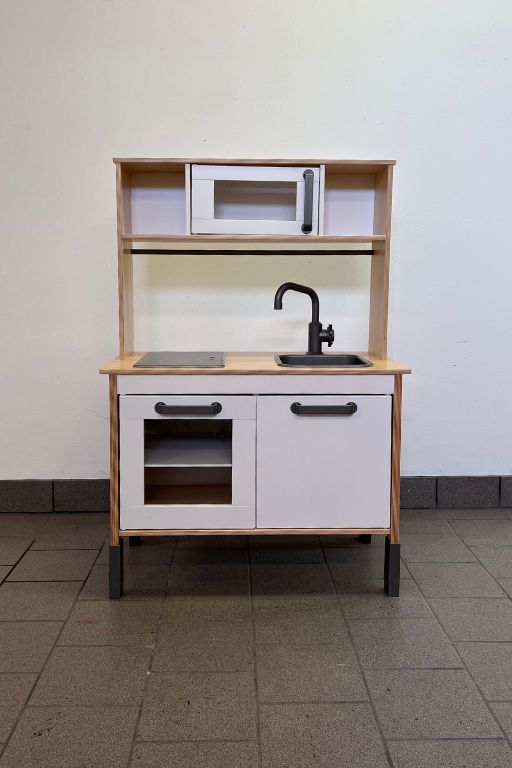
Before
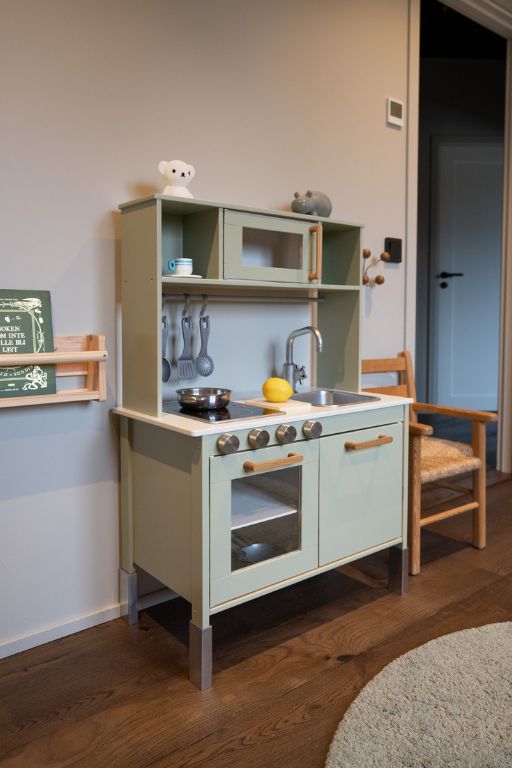
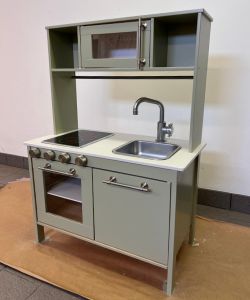
After
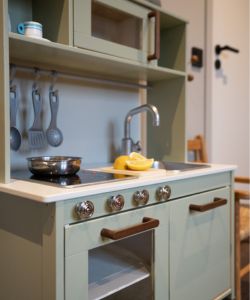
The same kitchen, but with a modern touch. The play kitchen has a new lease on life and is now more a piece of furniture than just a toy.
Want to give your child's IKEA play kitchen a makeover too, but aren't sure what you need or how to go about it? Then this guide is for you. A real IKEA hack, we promise!
What you need to repaint an IKEA play kitchen
- IKEA DUKTIG play kitchen
- Paint prep cleaner and a cloth
- Floor protection paper
- Bonding primer and matte paint for woodwork
- Paintbrush and roller
- Masking tape
- Spray paint (we used chrome spray paint)
- New handles and knobs
- Drill
- Folding ruler

Repainting the IKEA DUKTIG play kitchen step by step
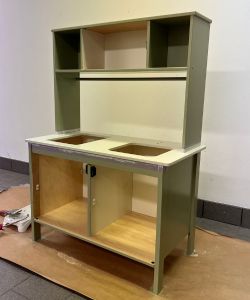
Step 1. Start by covering the floor with floor protection paper to protect it from paint spills. Before you go any further, you have two options: either take the kitchen apart or make it over while it is assembled. We chose to make it over while assembled.
Step 2. Remove the parts that won't be painted: the stove, sink, faucet, legs and hardware. Clean the kitchen with paint prep cleaner. Spray the surfaces, then use a damp cloth to remove any dirt.
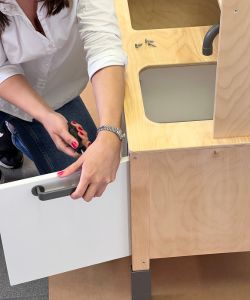
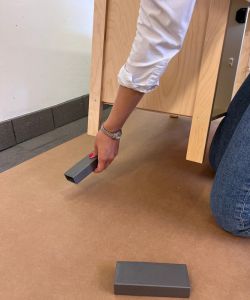
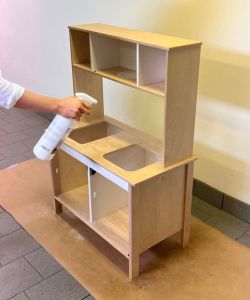
Step 3. Decide where you want the knobs (stove controls) to go. Place a strip of masking tape where you want them so you can easily draw and mark the holes. The tape also gives the drill bit a matte surface to grip, so it won't slip. Once you've measured and marked the holes, drill through the tape with a bit that fits an M4 screw.
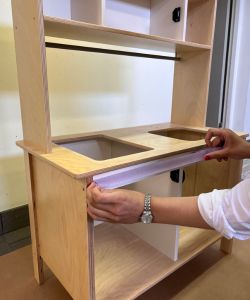
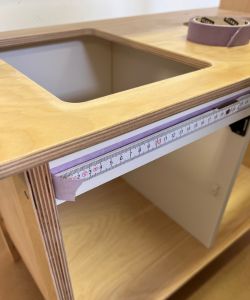
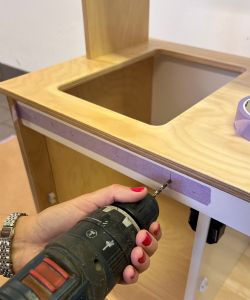
Step 4. Use masking tape to protect the surfaces that won't be painted. We masked the inside of the microwave, oven and kitchen cabinet, as well as the doors with plastic windows.
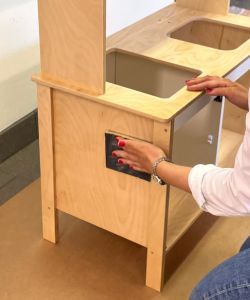
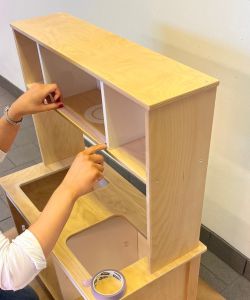
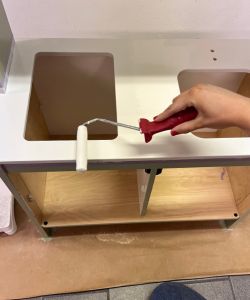
Step 5. Mix the bonding primer thoroughly and apply one coat. Use a roller on the large surfaces and a brush to reach the smaller spaces. The bonding primer helps the paint adhere properly and gives the kitchen an even finish. Let the primer dry.
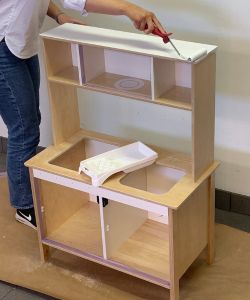
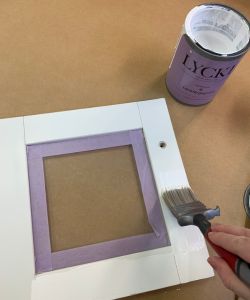
Step 6. Once the primer has dried, it's time for the first coat of woodwork paint. Mix the paint thoroughly and use a paintbrush or roller. We started by painting everything except the countertop in Pistachio Green 12 (NCS S 3010-G60Y) from Happy Homes. Let the paint dry, then apply another coat for an even finish and full coverage. Remove the masking tape once the final coat is complete. Tip: mask the countertop if you want it in a different color from the rest of the kitchen.
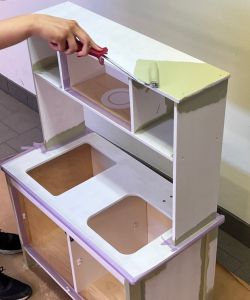
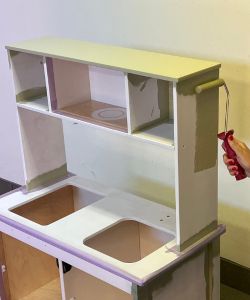
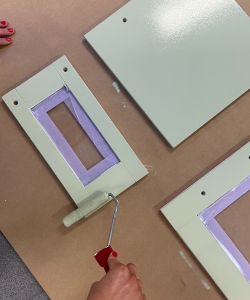
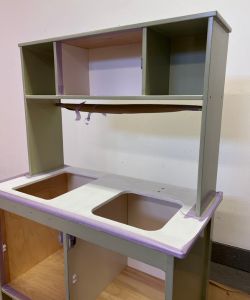
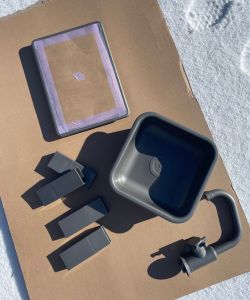
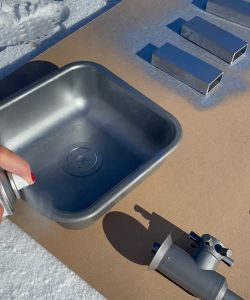
Step 7. While the paint dries, mask the stovetop and place the legs, sink, faucet and stove on a surface you don't mind getting paint on, such as a piece of cardboard. Take them outside and spray the parts in your chosen color. We used chrome spray paint for a chrome finish. Bring the parts inside and let the spray paint dry thoroughly: don't touch them too soon, as this could damage the new finish.
Step 8. Paint the countertop in your chosen color. We chose Morning Dew 18 (NCS S 1002-Y) from Happy Homes. Let the paint dry, then apply another coat for an even finish and full coverage. Remove the masking tape after painting the final coat and let the paint dry.
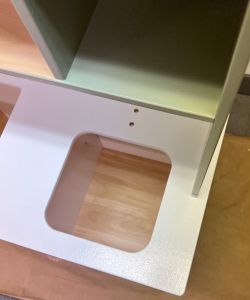
Choose handles and knobs for the IKEA play kitchen
Step 9. Once the paint has dried, it's time to fit new handles and knobs. The existing holes have a center-to-center measurement of 128 mm, so choose handles with a center-to-center measurement of 128 mm. Choose handles and knobs that are fun to turn and have a textured or matte surface for a good grip. Make sure little hands can open the doors and play with the kitchen. There are endless combinations of colors, knobs and handles.
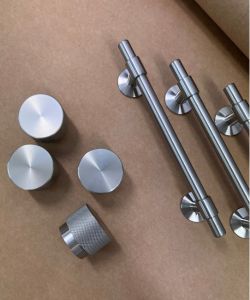
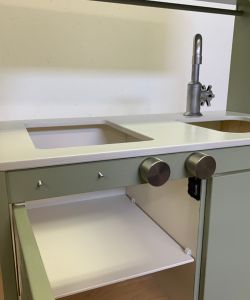
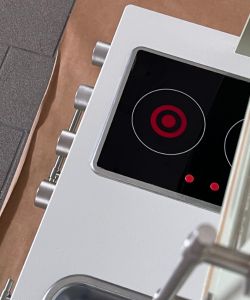
Here are handles with a center-to-center measurement of 128 mm that fit the kitchen:


From
£9.30From
£12.40


From
£10.87From
£14.50For the stove controls, knobs like Knopp Crest in stainless steel or Knopp Lily in chrome work well.


From
£9.30From
£12.40


The result: handles and knobs on the finished play kitchen
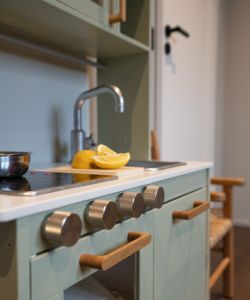
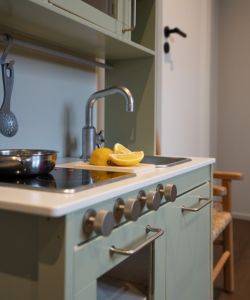
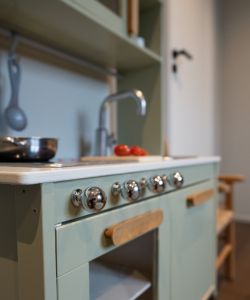
The play kitchen has a whole new look and character! Here’s how it looked with some of the handles fitted.
Complete the kids’ room
Matching hooks on the wall in the kids’ room are perfect for sweaters that have become too warm during play, or for a little bathrobe when it’s cold in the morning. Find more handles and knobs in our range.
Show us your project
Good luck updating your IKEA play kitchen! We love seeing other people’s DIY projects come to life. If you’d like to appear below, tag your photos with @beslagonline or #beslagonline, and we’d be happy to share your project and inspire others.


